
Moveit Setup Assistant
NOTE: Moveit Setup Assistant Link for ROS 2 Humble, there some typos in this webpage, make sure to verify the same with the following instructions. You can use the same for more clarity while creating the configuration for UR5.
The MoveIt Setup Assistant is a graphical user interface for configuring any robot for use with MoveIt. Its primary function is generating a Semantic Robot Description Format (SRDF) file for your robot, which specifies additional information required by MoveIt such as planning groups, end effectors, and various kinematic parameters. Additionally, it generates other necessary configuration files for use with the MoveIt pipeline. To use the MoveIt Setup Assistant, you will need to have a URDF file for your robot. Source Link
You can skip the steps which are not shown in the below information. We highly encourage you to surf internet for more detailed concepts.
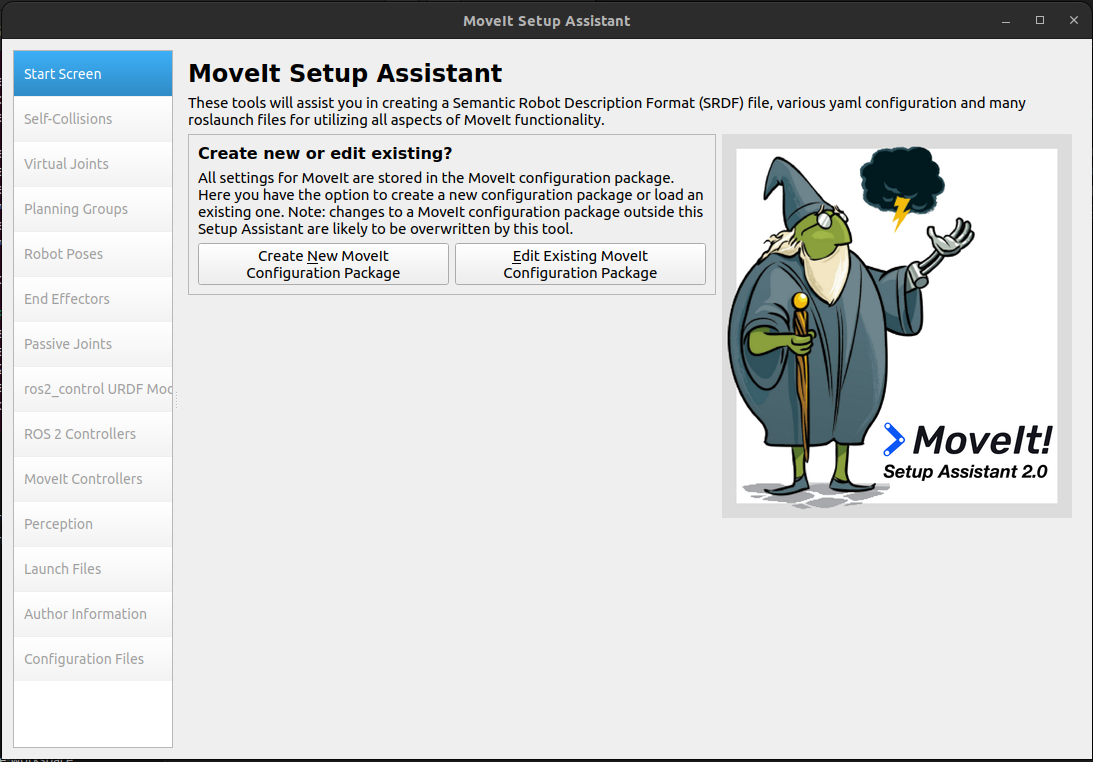
1. Start:
(Make sure to source the workspace in terminal before starting this steps)
ros2 launch moveit_setup_assistant setup_assistant.launch.py
This command will open up a window having GUI of setup assistant
2. Select the URDF file of robotic arm
- Click on
Create New Moveit Configuration package. - Select the URDF file of the UR5 arm named as
ur5_arm.urdf.xacrofrom theur_description/urdfpackage.
NOTE: Make sure to only select ur5_arm.urdf.xacro and NOT any other xacro file.
- Click on
Load Filesbutton to load the same. This will open up a similar window: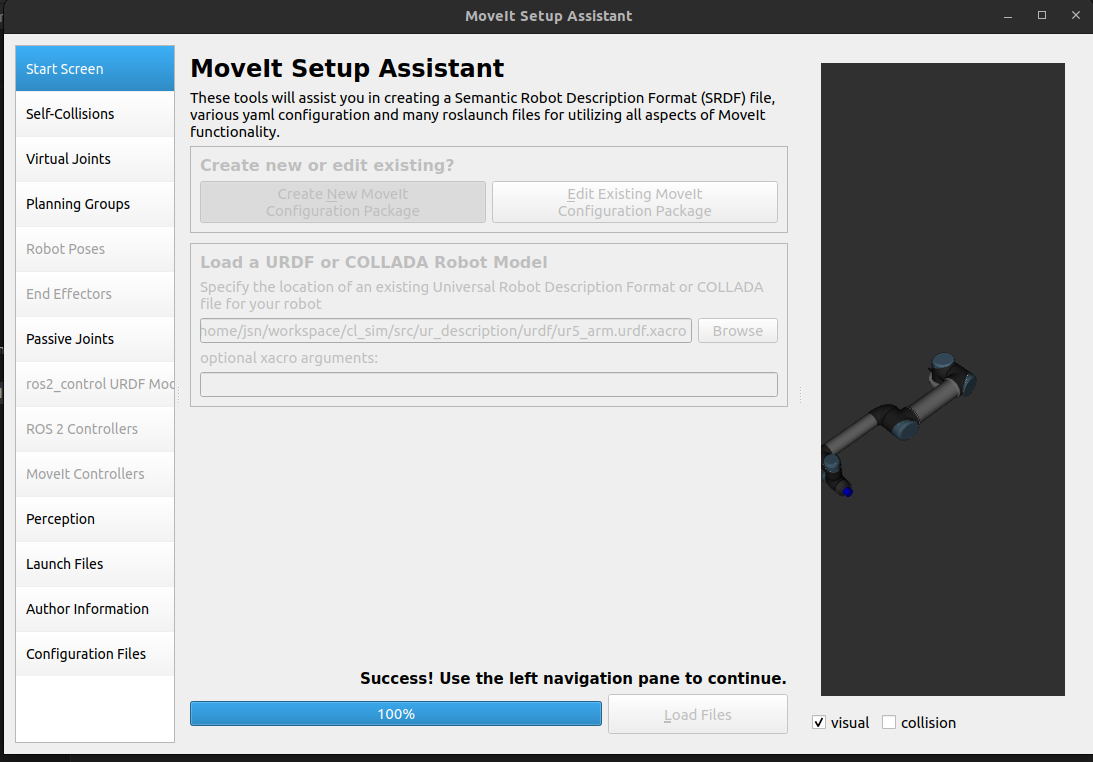
3: Generate Self-Collision Matrix
(Make sure to keep the bar of sampling density to its maximum value.)
- Click on the Self-Collisions pane selector on the left-hand side and click on the
Generate Collision Matrixbutton. The Setup Assistant will work for a few second before presenting you the results of its computation in the main table.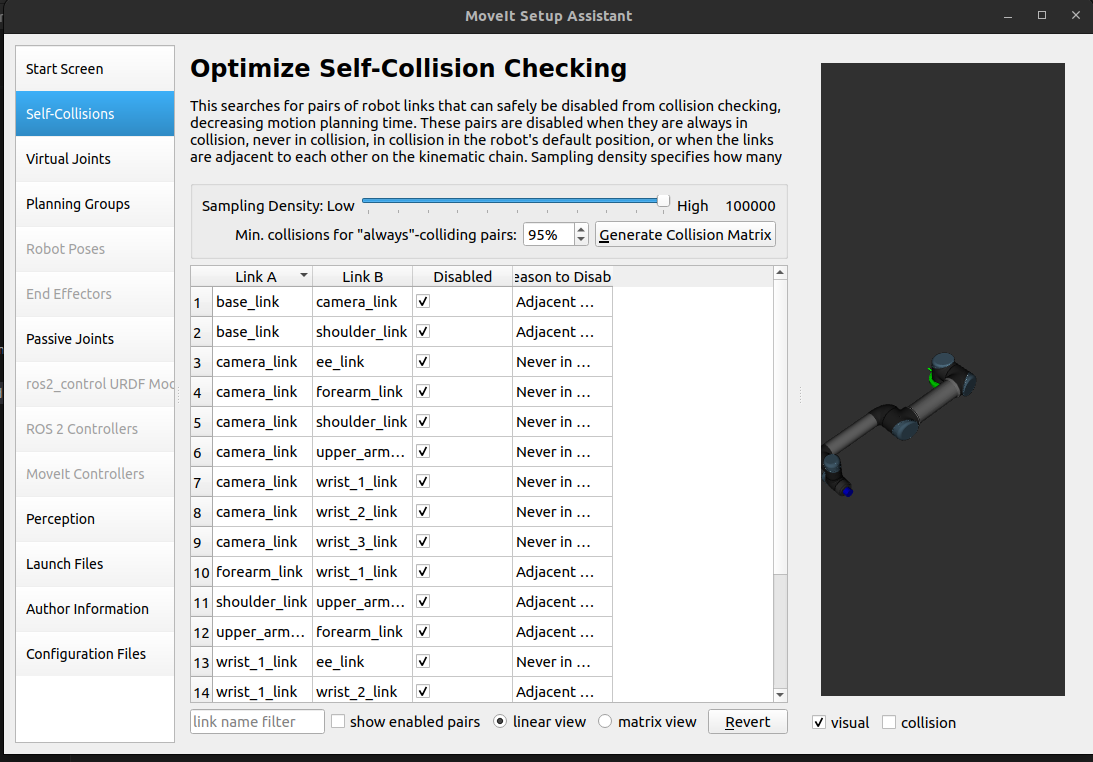
4. Add Virtual Joints
Virtual joints are used primarily to attach the robot to the world. We need to add two virtual joints:
FixedBase: forbase_linkhaving parent link asworldCamBase: forcamera_linkhaving parent link asworld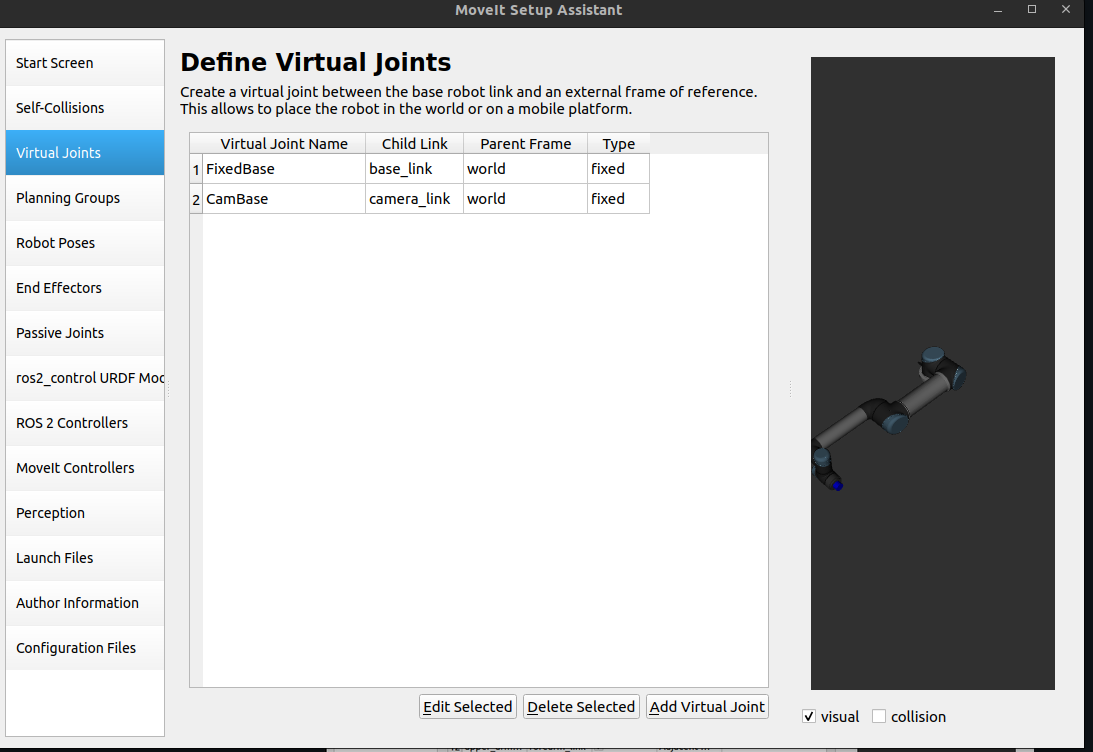
5. Add Planning Groups
Planning groups are used for semantically describing different parts of your robot, such as defining what an arm is, or an end effector.
-
Click on
Add Groupbutton, make sure to keep the following details to resemble more with hardware:- Group Name:
ur_manipulator - Kinematics solver:
KDLKinematicPlugin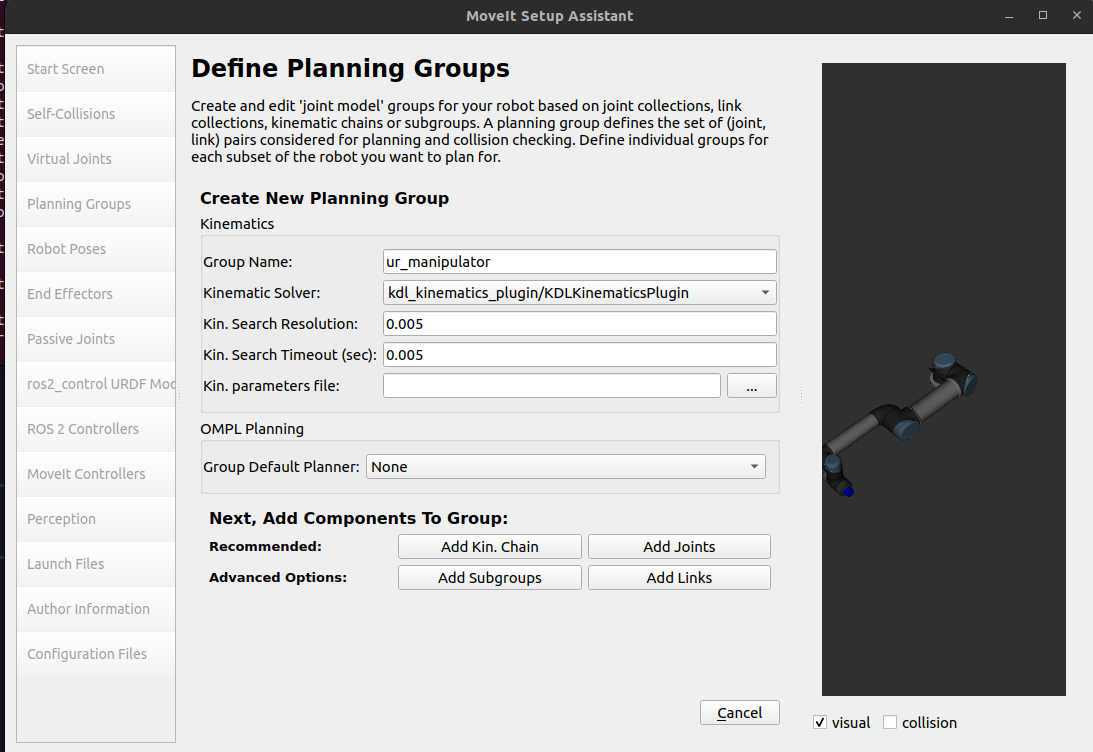
- Group Name:
-
Click on
Add Jointsand the following joints as shown in the image below by selecting in order and using>button. -
After adding, click on the
savebutton.
-
Now add
links, by double-clicking onLinks.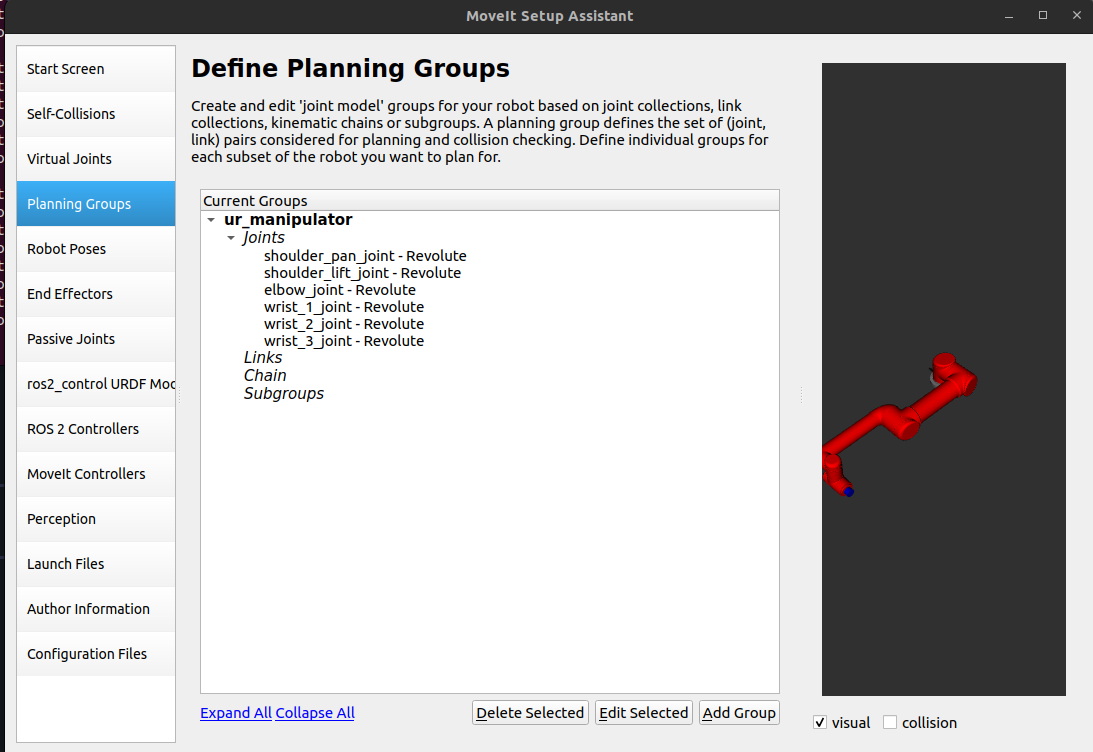
-
Similar to the
Jointsstep, add the links as shown in the image.
-
Now add
chainby double- clicking onChain.- By extending each drop-down list you can reach the end of other links a shown below:
- Select
Base_linkasbase_link - Select
Tip Linkastool0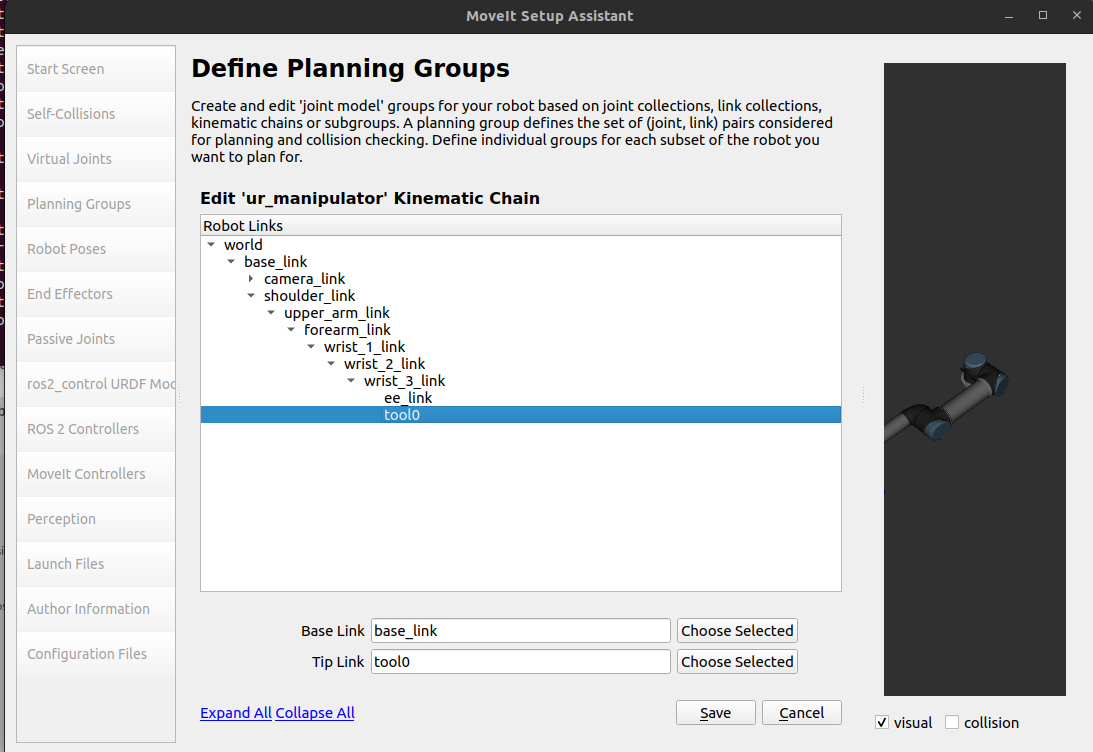
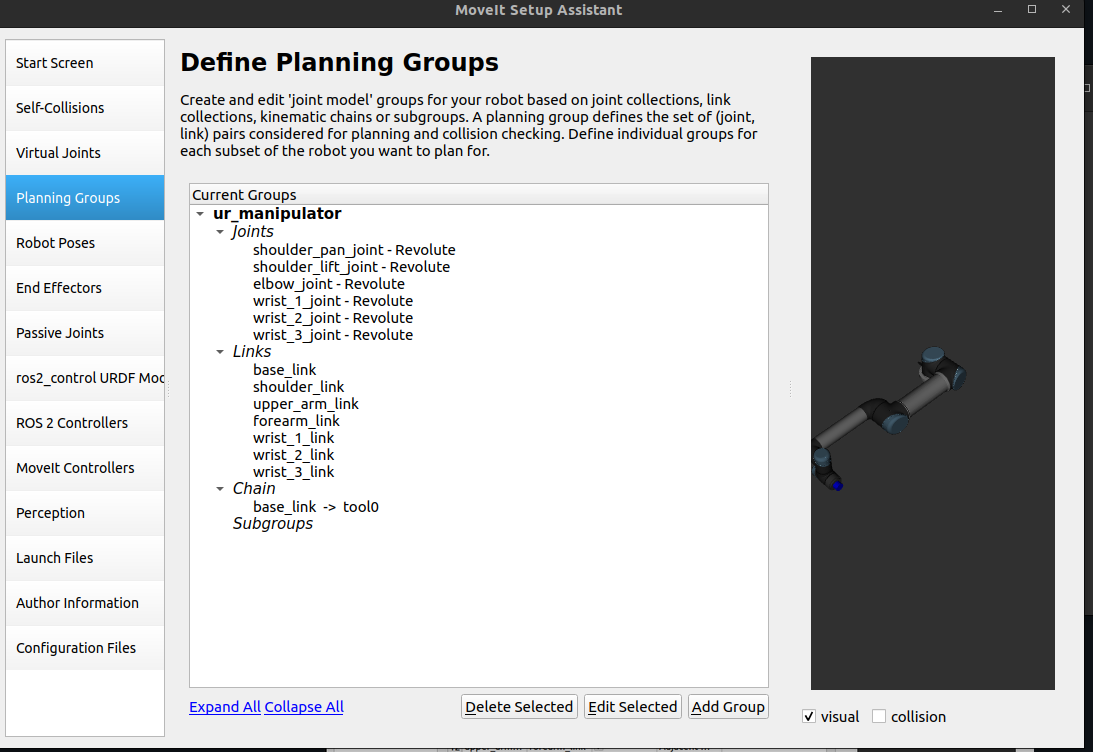
The final planning group setup will look like the follwoing window:
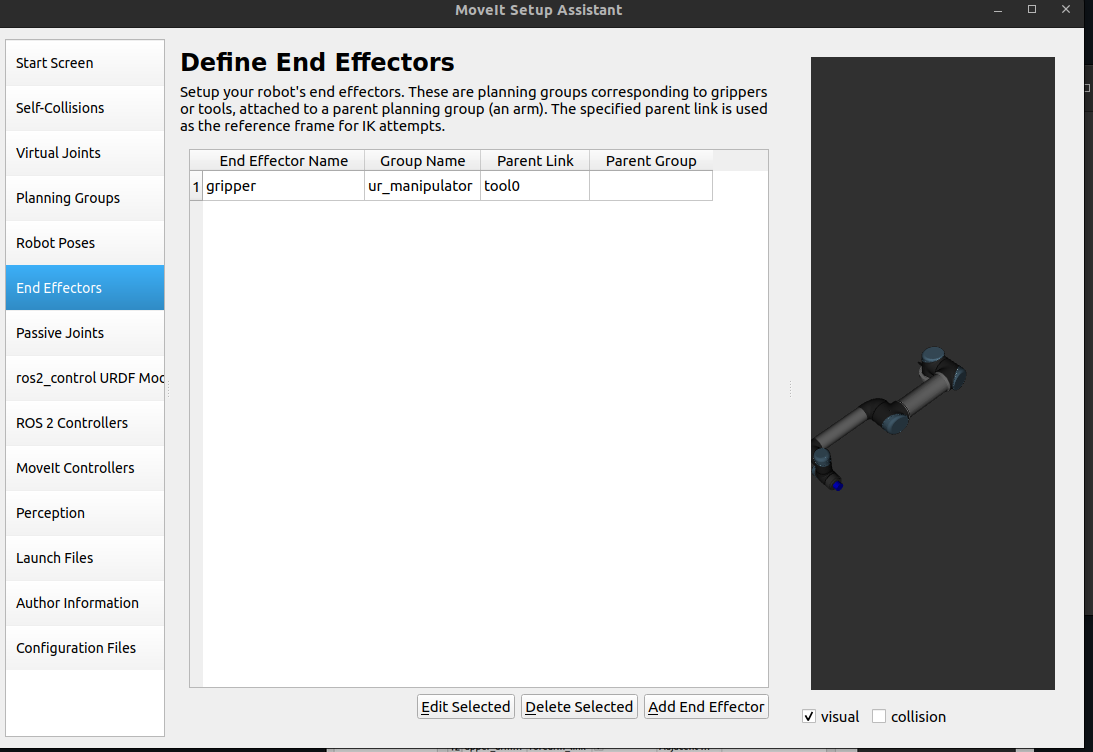
6. Label End Effectors
Now, we will designate end effectors name. By selecting Add End Effector make sure to keep the info as:
- EEF Name: gripper
- Select Group Name: ur_manipulator # Same as the one you named in planning group
- Parent Link: tool0
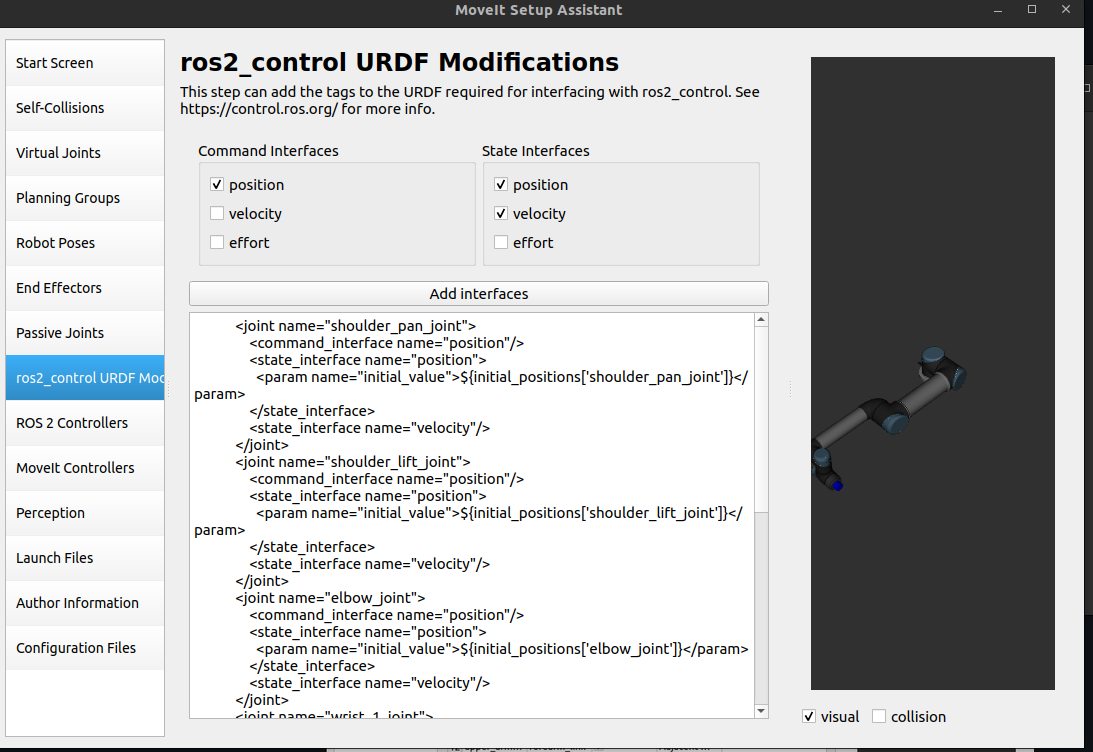
7. Checking ros2_control
Make sure that ros2_control has position for command_interface and position, velocity for position_interface.
8. Add Author Information
Skipping to the Author Information tab.
Colcon requires author information for publishing purposes:
- Click on the Author Information pane.
- Enter your name and email address.
9. Generate Configuration Files
You are almost there. One last step - generating all the configuration files that you will need to start using MoveIt:
- Click on the Configuration Files pane.
- Choose a location and name for the ROS package that will be generated containing your new set of configuration files.
- Click browse, navigate inside your
srcfolder. - Click Create New Folder, call it
ur5_moveit, and click Choose.
Click on the Generate Package button. The Setup Assistant will now generate and write a set of launch and config files into the directory of your choosing. All the generated files will appear in the Generated Files/Folders tab and you can click on each of them for a description of what they contain. Finally you can exit the setup assistant.